Remember those 3 disks or 5 zip files we unzipped into 'bishiphome' folder? We will go there (under Disk1) and run the installer file to launch the installation wizard:
Here are the rest of the steps:
1. Choose Enterprise Install:
2. Checking prerequisites and passing:
4. Choose the location where OBIEE 11G will be installed:
5. Next screen, just click all of them:
6. Now we need to refer the schema created from RCU process done previously:
What I entered in my case:
7. Next screen. Just choose Auto Port Configuration
8. Security update option comes next. I usually skip this, you can feel free to subscript to this option as you wish
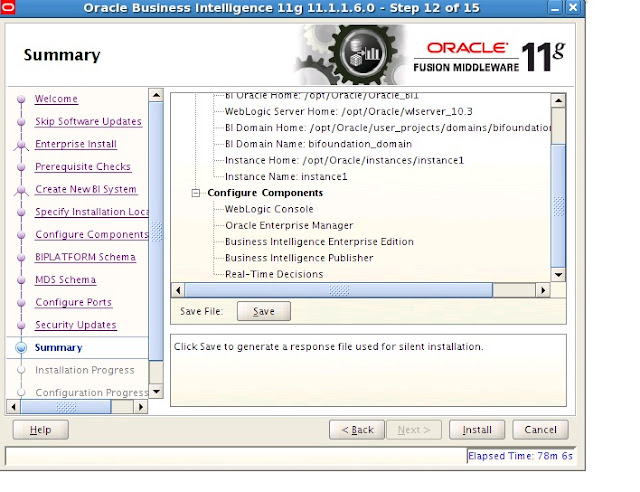
9. Summary of all of the setting we have done so far:
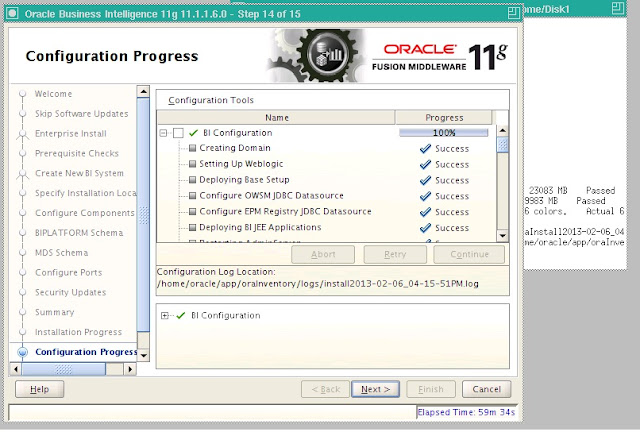
10. Upon clicking 'Install', the process kicks off:

11. Final Completion:
This is the whole process of installing OBIEE 11g. Upon successful installation, the weblogic server, node manager and BI Components are automatically in running state. You can immediately log in (username/password will be what you created in step 3) to your 11g front end interface. By default, what you will get the sample demo dashboards and reports until you start creating your own or start upgrading your 10g stuffs.
Next time, we will talk about applying patches for this version of 11g.
Stay tuned


1 comments:
Appreciation for nice Updates, I found something new and folks can get useful info about BEST obiee ONLINE TRAINING
Post a Comment