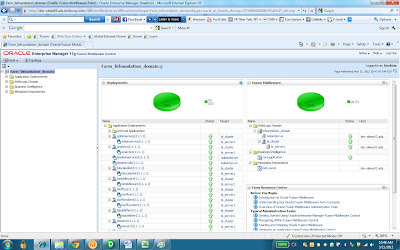
Upon login, the interface will look at the following:
In the domain structure pane on the left hand side, we have 1 domain, which is BIFoundation_Domain. Domain can be created using weblogic tool’s Configuration wizard.
Under this domain, we have a list of nodes. The first one is ‘environment’. Underneath this node, we have a list of subjects, one is ‘server’, which is typically referred to as ‘managed servers’ in the 11G Architectural diagram:
Just to mention, in case you want to know where and how to set up the security authentication in 11g, it is also done here in Admin console. Under 'security realm'. There you can go further by setting up the LDAP server embedded in weblogic server, which allows you to create and manage users and groups:
However, that will be for another time. For the time being, let's move on with the overall architecture by clicking on ‘servers’ and we will see a list of managed servers under this domain. In my case, I have two servers.
The highlighted server is the managed server that once started, will automatically start the Java component and OPMN (referred to as the right side of the OBIEE 11G Architecture Diagram)
This should allow us to log in to the Oracle Enterprise Manager as referred to as ‘Enterprise Mgr’ on the left side of the architecture diagram under ‘Admin Console’. Typically, we can access to the enterprise manager via the url: http://localhost:7001/em
Here on the left pane, we can see the Weblogic Domain is what is in Admin console being BIFoundation_Doman.
The OBIEE components are under ‘Business Intelligence’ Node. In our case it is called ‘CoreApplication’. Click on it, and go to capacity management, we will see a list of OBIEE related services:
This is where we can manage to start/stop any of the OBIEE services, such as Presenation Service, BI Server, Scheduler Server that we are familiar in 10G.
This place is also used when we want to publish a new RPD. Simply go to ‘Deploy’ tab, which is the rightmost tab:
This is where we can upload a new RPD and webcat to publish. Simply click ‘Lock And Edit Configuration’ next to the ‘change center’ slightly above ‘Overview’ tab and start the process. I won’t go into it now.
That is pretty much it for an overview. It will take some time to get used to, but overall it is a pretty simple process.
Until next time.


